Create AVD. First Android App. Struct of Android application
- ANDROID DEVELOPER

- 29 июн. 2018 г.
- 1 мин. чтения
Обновлено: 1 июл. 2018 г.
In order to testing your application you will need Android Virtual Device (AVD). This is emulator of Android device, on which we can install Android app and test them on it. We already install Android SDK, if not, read my last article. Finally, we can create our first application for Android and run it and see how it work!) Let’s create our application and run it on emulator.
Named Project as you like in Application name, and Company domain

Application name - name of project. It will be displayed in list of projects when you will be open Android Studio.
Company Domain – name of site, write somesite.com
Package name - it’s come from Java language. It is prefix for name of our classes of Android application.
Project location - folder on your PC where will be located all files from your project.
Vizard asked you what is Minimum SDK. We leave it as it is.

Press Next Button.

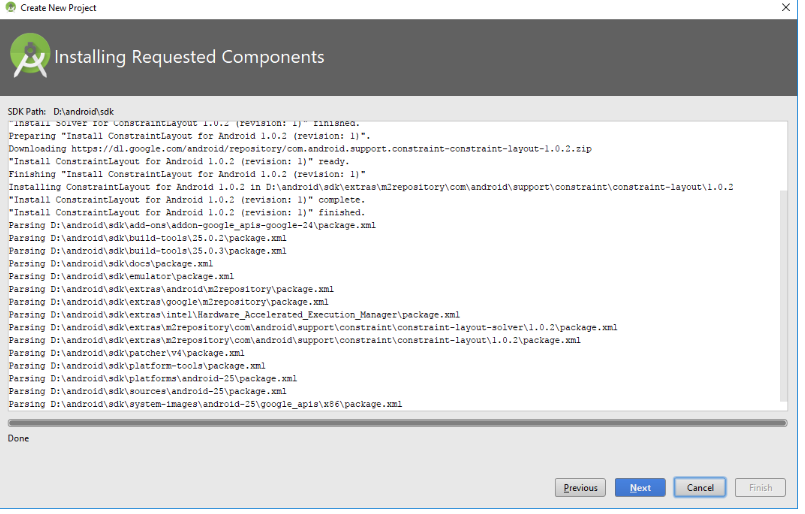
Press Next button when Android is finishing.
Select Empty Activity.
Press Next button.

We leave it as it is. Android Studio is creating project.
Are you welcome in main window

But from below you can see the progress bar. This means that some actions are still being performed, and we must wait.

In your case it will be (app) in list.

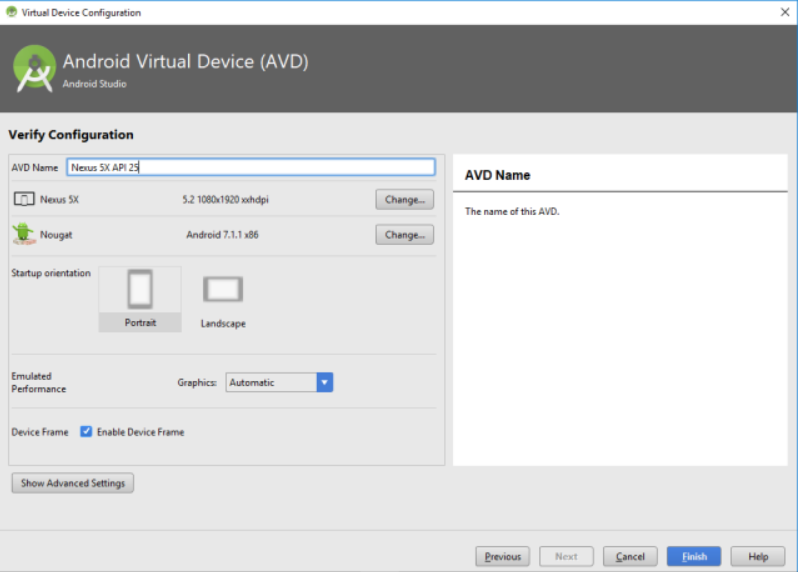
Click Create New Virtual Device.

Here we Leave what is selected by default.

Next we are asked to specify the name of the emulator and change its settings.
Leaving everything as is

Click Finish.
Click OK, and after a while an emulator will appear.

Our first app is work!!!


Комментарии